
Bathroom Waterproofing Malaysia — What Your Contractor Should Do
A step-by-step guide to bathroom waterproofing in Malaysia — surface prep, wall upstands, the ponding test, and what the job should really cost.
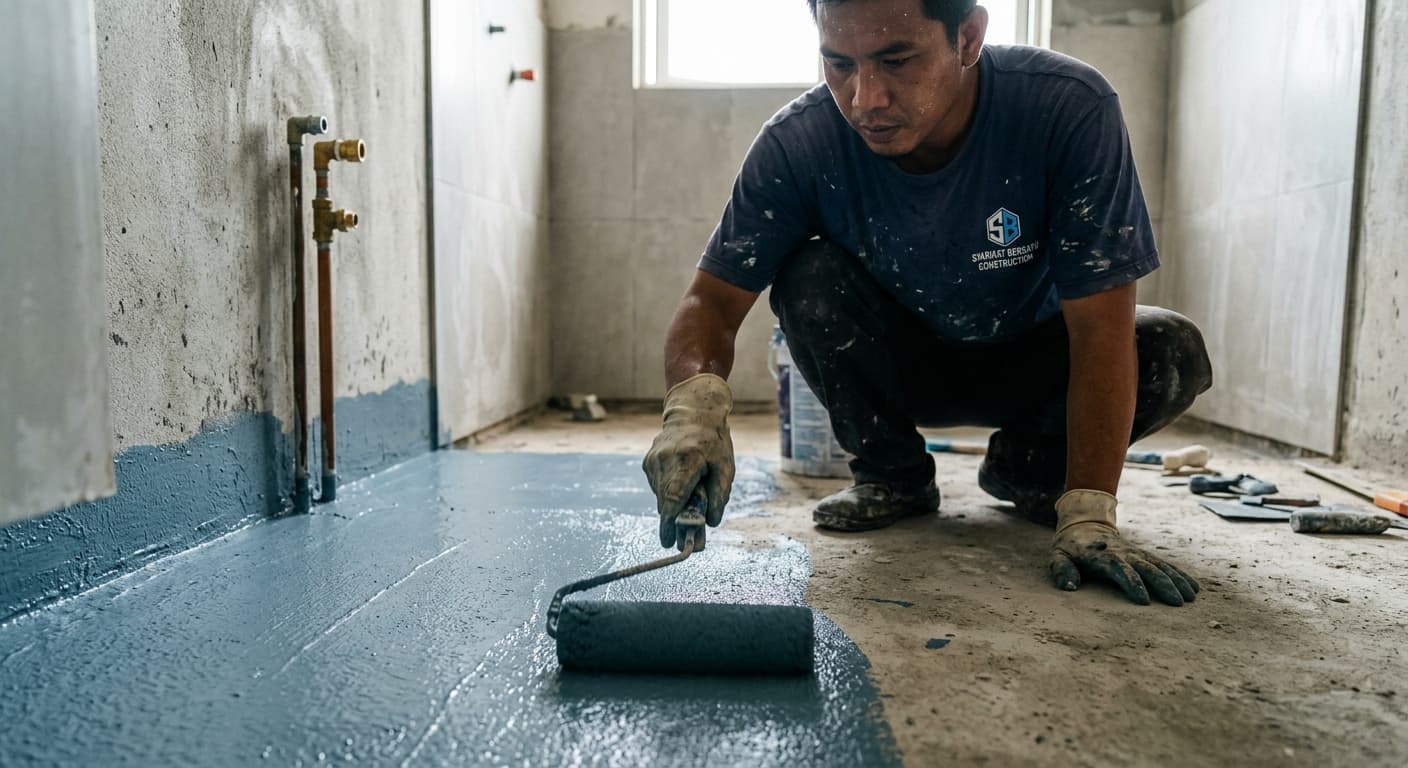
The bathroom is the wettest room in the house, but most cases of water reaching the unit below are not caused by cracked tiles — they are caused by a waterproofing layer that was never tested before the tiles went on. Once tiling is done the mistake stays hidden for months, until the neighbour's ceiling starts staining. Here is what a waterproofing contractor should actually do in your bathroom, in order, so you can judge the quote in front of you.
Why Bathrooms Still Leak After Tiling
Tiles and grout are not a waterproof layer. Grout absorbs water, and a sealer on top of grout lasts a year or two at best. What actually holds water back is the membrane under the tiles — if that layer is missing, too thin, or torn during tiling, water reaches the concrete slab.
Water does not leak where it drips
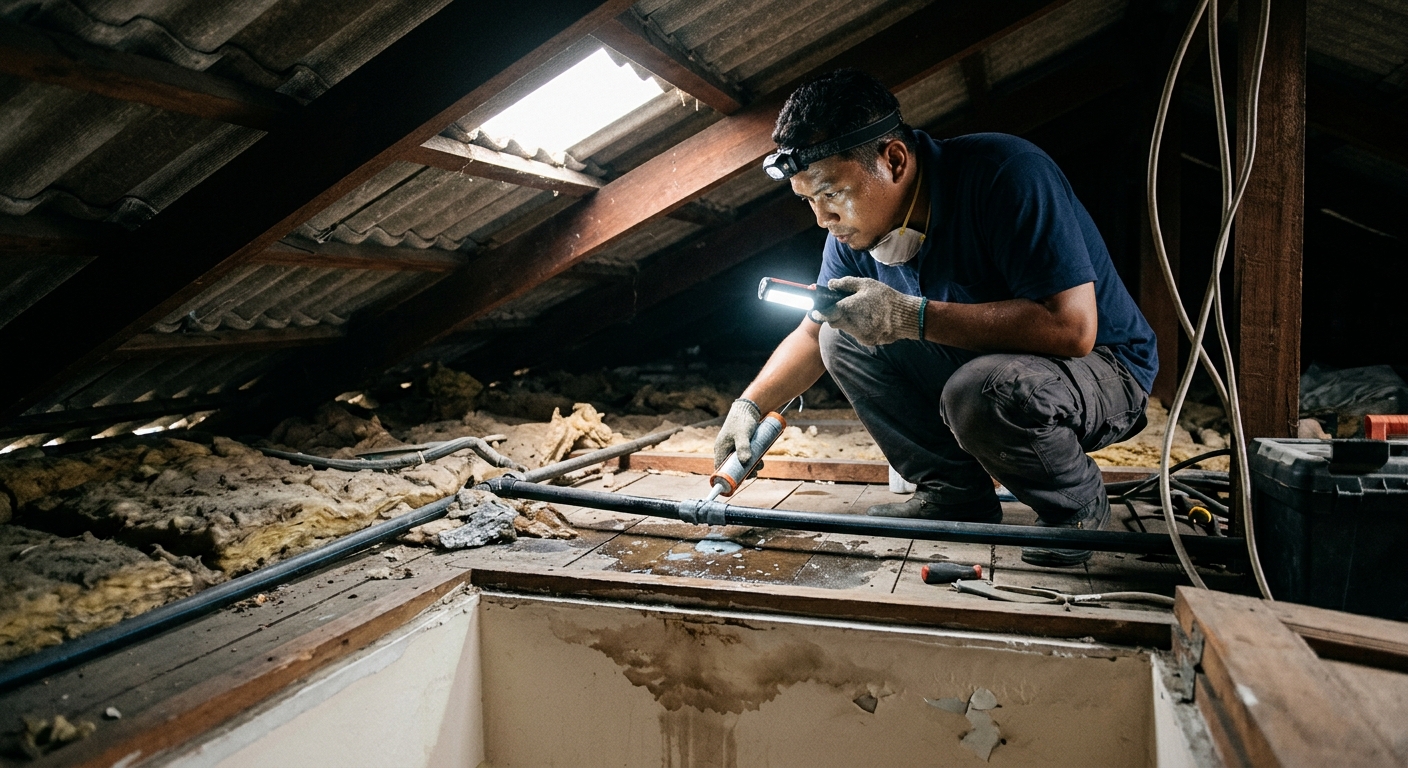
A ceiling stain is rarely directly under the source. Water travels across the top of the slab until it finds a crack, a light box or a pipe joint, and only then comes down. That is why contractors who simply repaint the dripping patch, without inspecting the bathroom above, keep failing.
Floor traps and pipe penetrations
Most bathroom leaks start at the same three places: around the floor trap, at the base of pipes passing through the floor, and at the wall-to-floor joint. All three are where the membrane has to be carried up, reinforced with fabric, and built up in two passes — not just rolled flat like the rest of the floor.
Surface Prep — The Work You Never See
If your quote says nothing about hacking and surface cleaning, that is the first thing to question. A membrane only bonds to concrete that is clean, dry and sound.
Hack down to the slab
For an older bathroom that is already leaking, the tiles, screed and old membrane come off until the concrete slab is visible. Coating a new membrane over damp old screed simply traps the moisture underneath — a few months later that layer blisters and peels.
Cracks, corners and coving
Slab cracks are opened up with a V-cut, cleaned, and filled with repair mortar — not just painted over with membrane. The wall-to-floor junction gets a coving, a small fillet, so the membrane never has to bend through a sharp 90 degrees. Sharp corners are where a coating splits first.
Screed and fall to the floor trap
The floor needs enough slope towards the floor trap, typically around 1:100 to 1:80. A dead-flat floor means water sits on the tiles for hours every day, and every weak spot in the grout gets time to soak. The fall is formed in the screed, and that screed must harden before the membrane goes on.
The Bathroom Waterproofing Sequence
The order rarely changes, whether it is a condo in Mont Kiara or a terrace house in Cheras. Only the material and the curing times change.
Primer first
Concrete is thirsty. Without a primer, a cementitious membrane loses its water into the slab too fast and never cures properly. What you get is a dusty layer that looks finished but has almost no bond.
Upstands at the walls
The membrane must run up the wall, not stop at the floor. Normal practice: at least 150 mm all round the bathroom, and 1.5 m to 1.8 m in the shower zone or around a bathtub. A shower wall that gets soaked daily will channel water behind the tiles if the upstand is too low.
Two coats, crossed directions
The first coat goes on in one direction, the second at 90 degrees once the first is touch dry. That is what closes the pinholes left in coat one. One thick coat is not a substitute for two thin ones.
Reinforce every penetration
Around the floor trap, water pipes and tap penetrations, reinforcing fabric is bedded into the wet membrane. The material choice here matters — if you want to understand the difference, read membrane vs coating before you agree to any quote.
The 24–48 Hour Ponding Test
This is the only step that proves the work succeeded, and it is the step most often skipped. Once the membrane has cured, the floor trap is plugged, the doorway is dammed, and the bathroom is flooded 25 to 50 mm deep.
What gets checked
The water level is marked and left for 24 hours, or 48 hours for a bathroom above a living area or above a neighbour's unit. A drop in level — allowing a little for evaporation — means there is a leak. At the same time, the ceiling and walls below are checked for damp patches.
Ask for proof
Ask for dated photos at the start and the end of the test, with the level mark visible. A contractor unwilling to stop for two days for a ponding test is selling speed, not a watertight bathroom.
Protection Screed, Tiling and Cost
Never tile straight onto a fresh membrane
A freshly cured membrane is still soft. A tiler working on top of it will scuff it with mortar buckets, tile spacers and boot heels — small tears nobody sees until water finds them. A thin protection screed, or a protection board, goes down first; tiling comes after.
What it should cost
For a normal-sized condo bathroom, the waterproofing scope alone — hacking, repairs, screed fall, two membrane coats and a ponding test — usually lands around RM1,500 to RM3,000. With new tiles and reinstatement included, the total is typically RM3,500 to RM7,000, depending on size, tile choice and the state of the slab. A localised repair, for instance just around the floor trap, is cheaper at roughly RM600 to RM1,500, but it only makes sense when the cause really is localised.
Duration and strata approvals
Full works take 5 to 8 working days, and most of that is waiting: screed hardening, membrane curing, two days of ponding. For a condo, management usually wants a renovation work form, a deposit, permitted working hours, and sometimes a consent letter from the unit below. Sort that out a week ahead — it is the most common cause of delay.
Frequently Asked Questions
Can waterproofing be done without hacking the tiles?
Yes, using a clear membrane or a penetrating sealer, and it does sometimes work for mild cases. But it cannot fix a wrong floor fall or an old membrane that has already failed, so do not expect the same length of warranty.
How long does bathroom waterproofing last?
Work done properly and left undisturbed generally lasts for years. The real lifespan depends on the material, the coat thickness and what protects it above — we break the numbers down in how long waterproofing lasts.
How do I tell a bathroom leak from a pipe leak?
A pipe leak is usually constant and does not change even when the bathroom is unused. A waterproofing failure follows use — the patch darkens after a shower, then slowly dries. Shut the inlet valve for a day; if the patch still grows, it is a pipe.
Do all the tiles have to be replaced?
For full works, yes, because the tiles have to come off to reach the slab. Keep any sound old tiles as spares, especially if the design is no longer sold.
Does the rainy season affect indoor bathroom works?
Not much, since the room is enclosed, but high humidity slows every coat down. Do not let a contractor shorten the waiting times just to hold a schedule.
If the ceiling below is already stained, do not wait for the next monsoon. WhatsApp us photos of the staining and your bathroom layout — we will tell you whether your case needs a full hack or a localised repair, and roughly what it costs.